This page is the mandatory upgrade entry point for CYPEX v2.0.0. It is
written for operators who run CYPEX in production
and need a single walkthrough that covers every breaking change in this
release.
Audience. Read this end-to-end before opening the maintenance window.
It links out to detailed pages for each topic; follow every link in
the order presented.
What is changing in v2.0.0
v2.0.0 introduces seven platform-level changes. Each one is breaking or
behavior-changing for at least one class of deployment.
This is the hands-on companion to SSO (the architecture overview). It walks through adding a real provider, signing in through it, and approving the resulting user — using real screenshots captured against a Generic OIDC provider configured against Google, plus the JWT claim trace that applies to every provider identically.
Before you start
You need the Organizations administrator role for the target organization (or system admin).
The host running the SSO Gateway needs outbound HTTPS to the IdP’s discovery, authorization, token, and JWKS endpoints.
Register the CYPEX callback URL on the IdP side before you save the provider — the default is {app-origin}/auth/{providerType}/callback (e.g. http://localhost:4000/auth/oidc/callback in dev), and the gateway rejects a login whose stored callbackUrl doesn’t match the IdP’s registered redirect URI byte-for-byte.
Step 1 — Add a provider
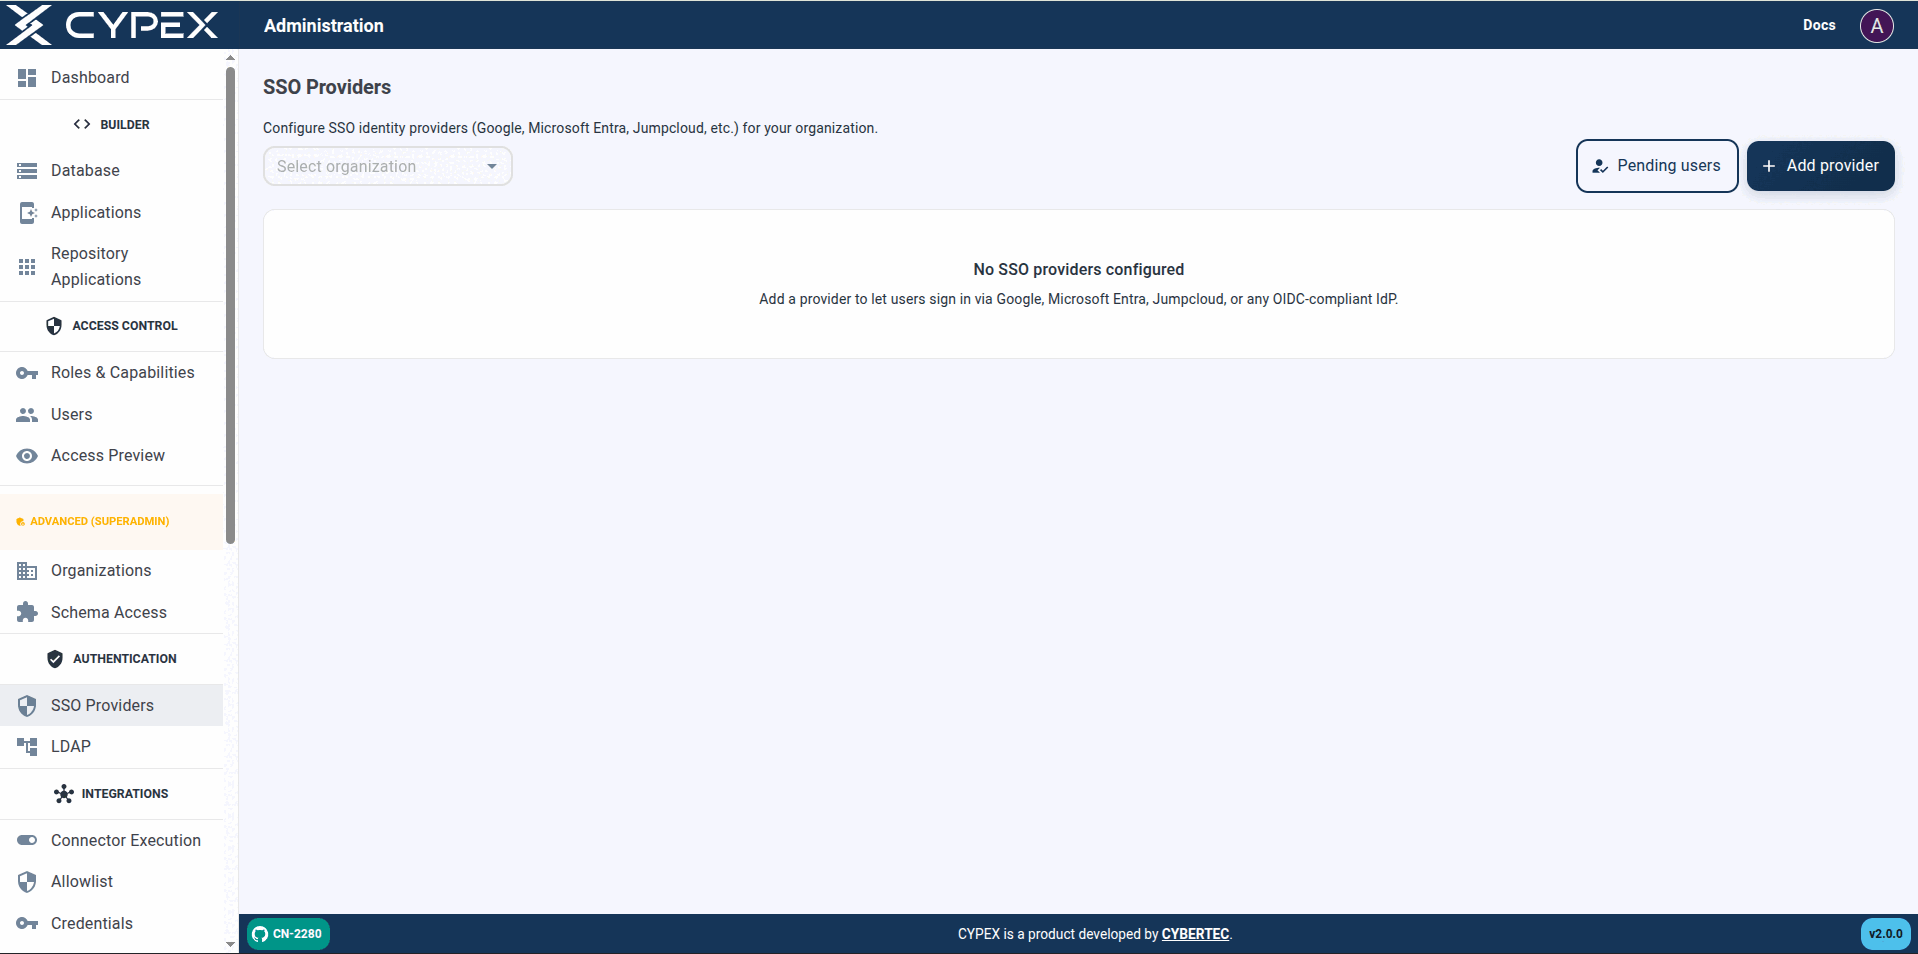
Under Authentication → SSO Providers → Add provider:
CYPEX federates login to an external identity provider in two ways. OIDC and OAuth2 logins go through a standalone SSO Gateway service; LDAP is handled inside CYPEX itself and does not involve the gateway. Both paths end the same way: a successful federated login issues a PostgREST-compatible JWT, and the organization and role claims on that token drive the same PostgreSQL Row-Level Security (RLS) policies as local username/password auth. There is no separate SSO security path.
Under Authentication → SSO Providers, this page configures which identity providers can sign users into an organization. For the full hands-on walkthrough — adding a provider, signing in, and approving the first user — see the OIDC setup guide.
SSO Providers
Select an organization, then Add provider. Pending users opens the same approval queue as Users → Pending SSO.
List screen
Filter by Organization — defaults to All organizations. With no
organization selected in contexts that require one: Select an
organization / Pick an organization above to list its SSO provider
configurations.
Pending users — opens the approval queue (same as Users → Pending
SSO).
Add provider — disabled until an organization is selected in the filter
when the create flow requires one (Select an organization in the filter
above before adding a provider.).
Empty list — No SSO providers configured / Add a provider to let
users sign in via Google, Microsoft Entra, Jumpcloud, or any OIDC-compliant
IdP.
Table columns — Name, Organization, Type, Client ID, Status, Last used,
Actions. Status is Active or Disabled; Last used shows Never
until the first successful sign-in.
A high level of protection must be assured of your data. We put great emphasis on security, and ensure that data is protected at all times. As part of that, our user management is based on a solid, well-tested user concept.
Understanding the CYPEX user concept
The first question we have to answer when talking about security is: “What is a user?”. Having a clear picture in mind is important to understand the big picture.