v2.0.0 redesigns the login screen. This page describes it from the user’s side:
what you see, what to type, and what the messages mean. Administrators
configuring providers should start at
SSO providers (OIDC) instead.
The login screen
Two ways in, on one screen:
Username / Email and Password — sign in with your CYPEX account.
Or quick sign in: — sign in through your organization’s identity
provider (Google, Microsoft Entra, and others), if one is configured.
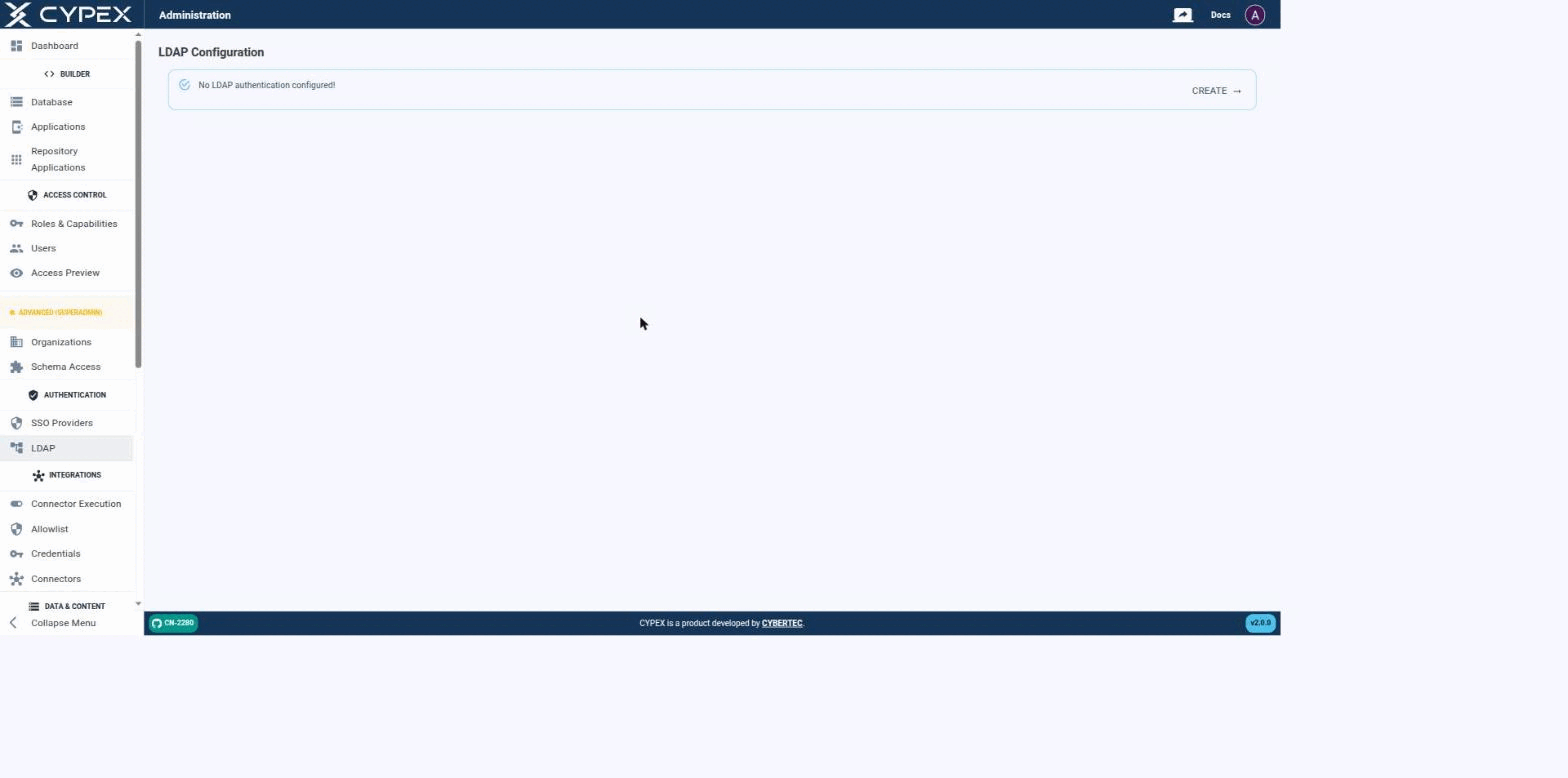
CYPEX authenticates users against an LDAP directory as an alternative to local (integrated) accounts — the same mechanism that backs Microsoft Active Directory, OpenLDAP, and any other LDAP v3 server. Before a connection is configured, the page simply confirms that no LDAP authentication is set up yet:
No LDAP authentication configured
Click CREATE to start the connection form.
Connecting to your directory
Fill out the connection settings to establish a connection between CYPEX and your directory:
CYPEX federates login to an external identity provider in two ways. OIDC and OAuth2 logins go through a standalone SSO Gateway service; LDAP is handled inside CYPEX itself and does not involve the gateway. Both paths end the same way: a successful federated login issues a PostgREST-compatible JWT, and the organization and role claims on that token drive the same PostgreSQL Row-Level Security (RLS) policies as local username/password auth. There is no separate SSO security path.
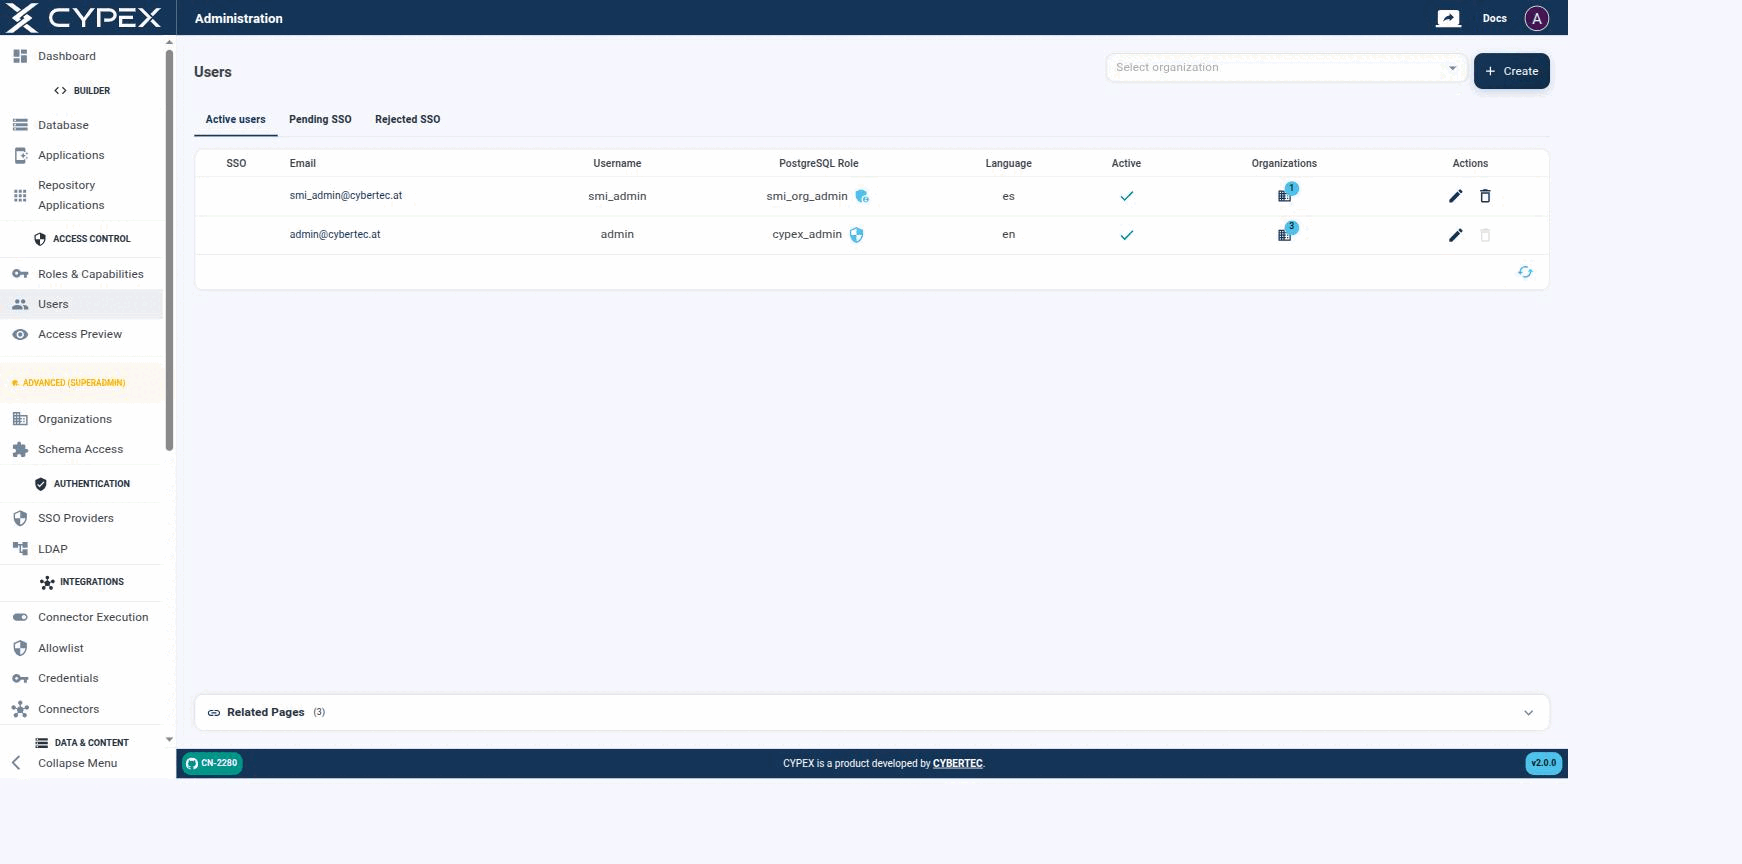
On the CYPEX side, users and roles are mapped to “login names”. This is done in the Users section of the admin panel:
Users
Active users, Pending SSO, and Rejected SSO tabs. Each row shows the PostgreSQL role, language, active state, and organization membership; use Select organization to filter by tenant.
Info
SSO-specific tabs (Pending SSO, Rejected SSO) and provider configuration are covered in their own section — see SSO Providers for provider setup, and Pending and rejected users for the full state diagram, admin approve/reject/un-reject actions, and audit trail behind these two tabs.
Also note that users are mapped to a database role. This is important, since the database role is what controls access to data — both what a user can do (capabilities) and, since v2.0.0, which organizations they can access. The login name (= email) is merely intended to handle CYPEX logins; permissions to data are managed on the lowest possible level (= PostgreSQL) to ensure consistency between the API, the app, and direct database access.
Under Authentication → SSO Providers, this page configures which identity providers can sign users into an organization. For the full hands-on walkthrough — adding a provider, signing in, and approving the first user — see the OIDC setup guide.
SSO Providers
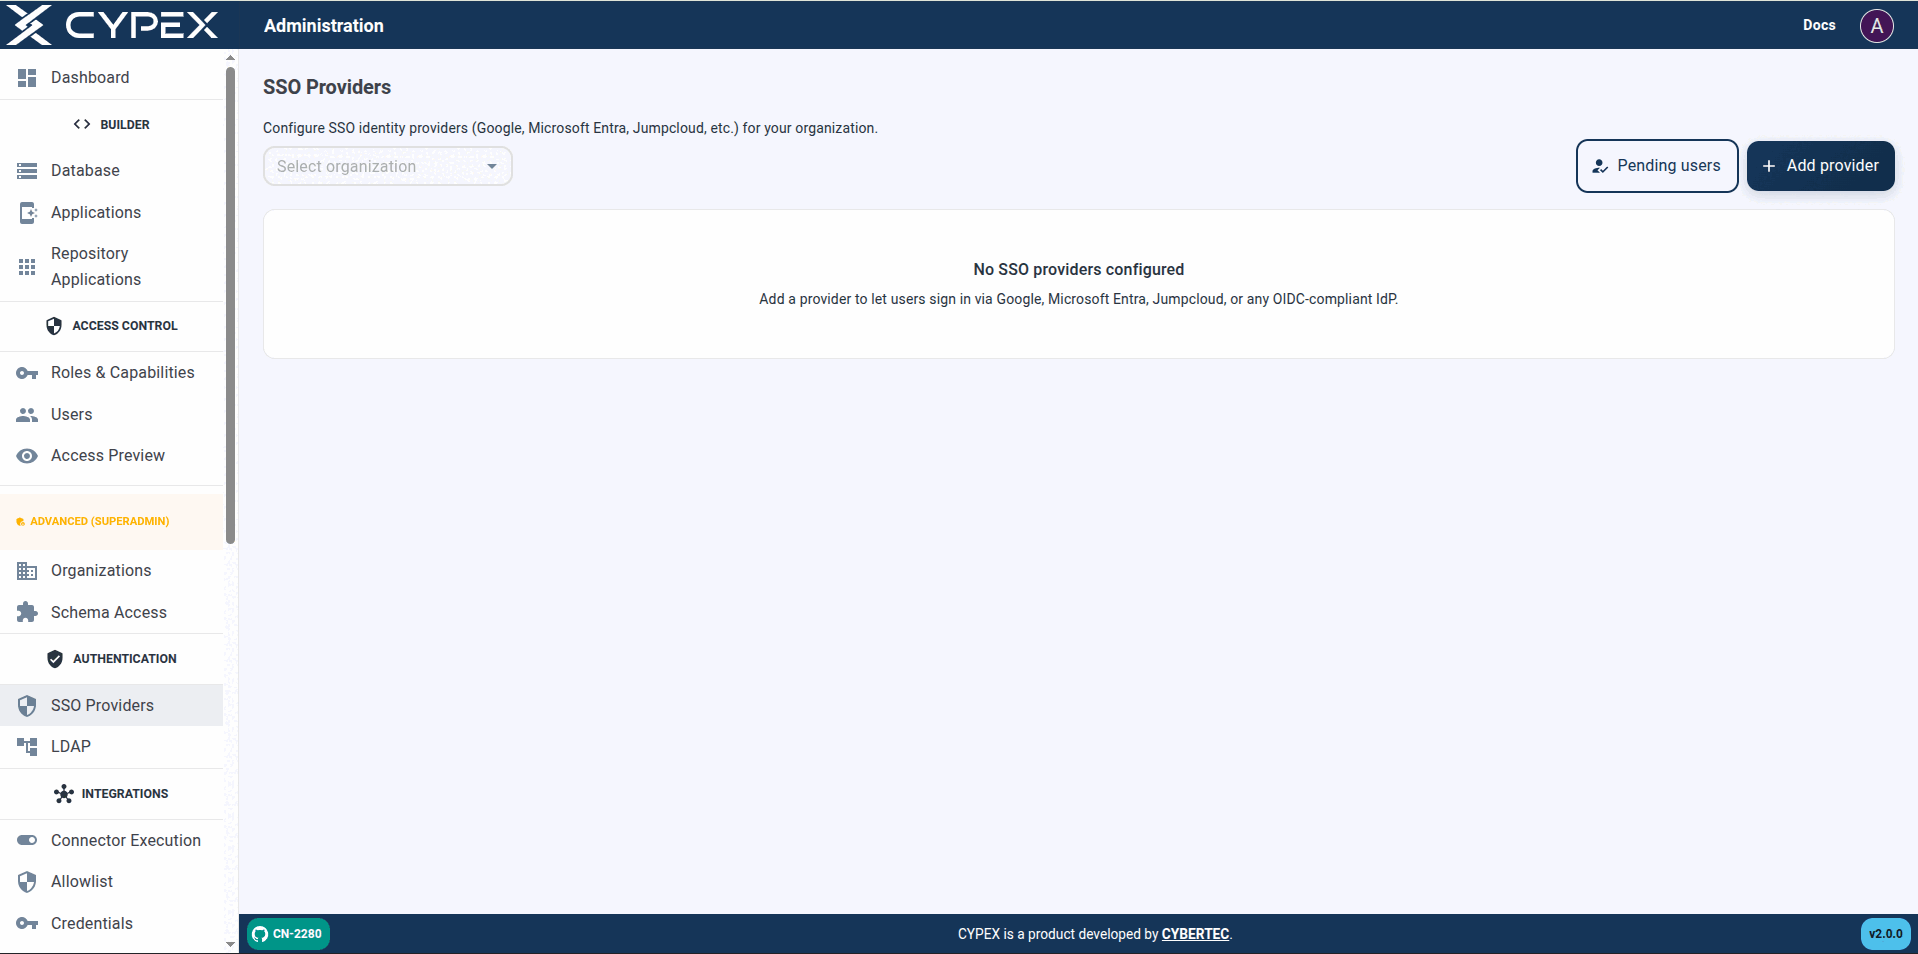
Select an organization, then Add provider. Pending users opens the same approval queue as Users → Pending SSO.
List screen
Filter by Organization — defaults to All organizations. With no
organization selected in contexts that require one: Select an
organization / Pick an organization above to list its SSO provider
configurations.
Pending users — opens the approval queue (same as Users → Pending
SSO).
Add provider — disabled until an organization is selected in the filter
when the create flow requires one (Select an organization in the filter
above before adding a provider.).
Empty list — No SSO providers configured / Add a provider to let
users sign in via Google, Microsoft Entra, Jumpcloud, or any OIDC-compliant
IdP.
Table columns — Name, Organization, Type, Client ID, Status, Last used,
Actions. Status is Active or Disabled; Last used shows Never
until the first successful sign-in.
This page has moved. See SSO → LDAP for directory connection settings, the three role-mapping modes, Active Directory notes, and how LDAP coexists with local auth and OIDC SSO.
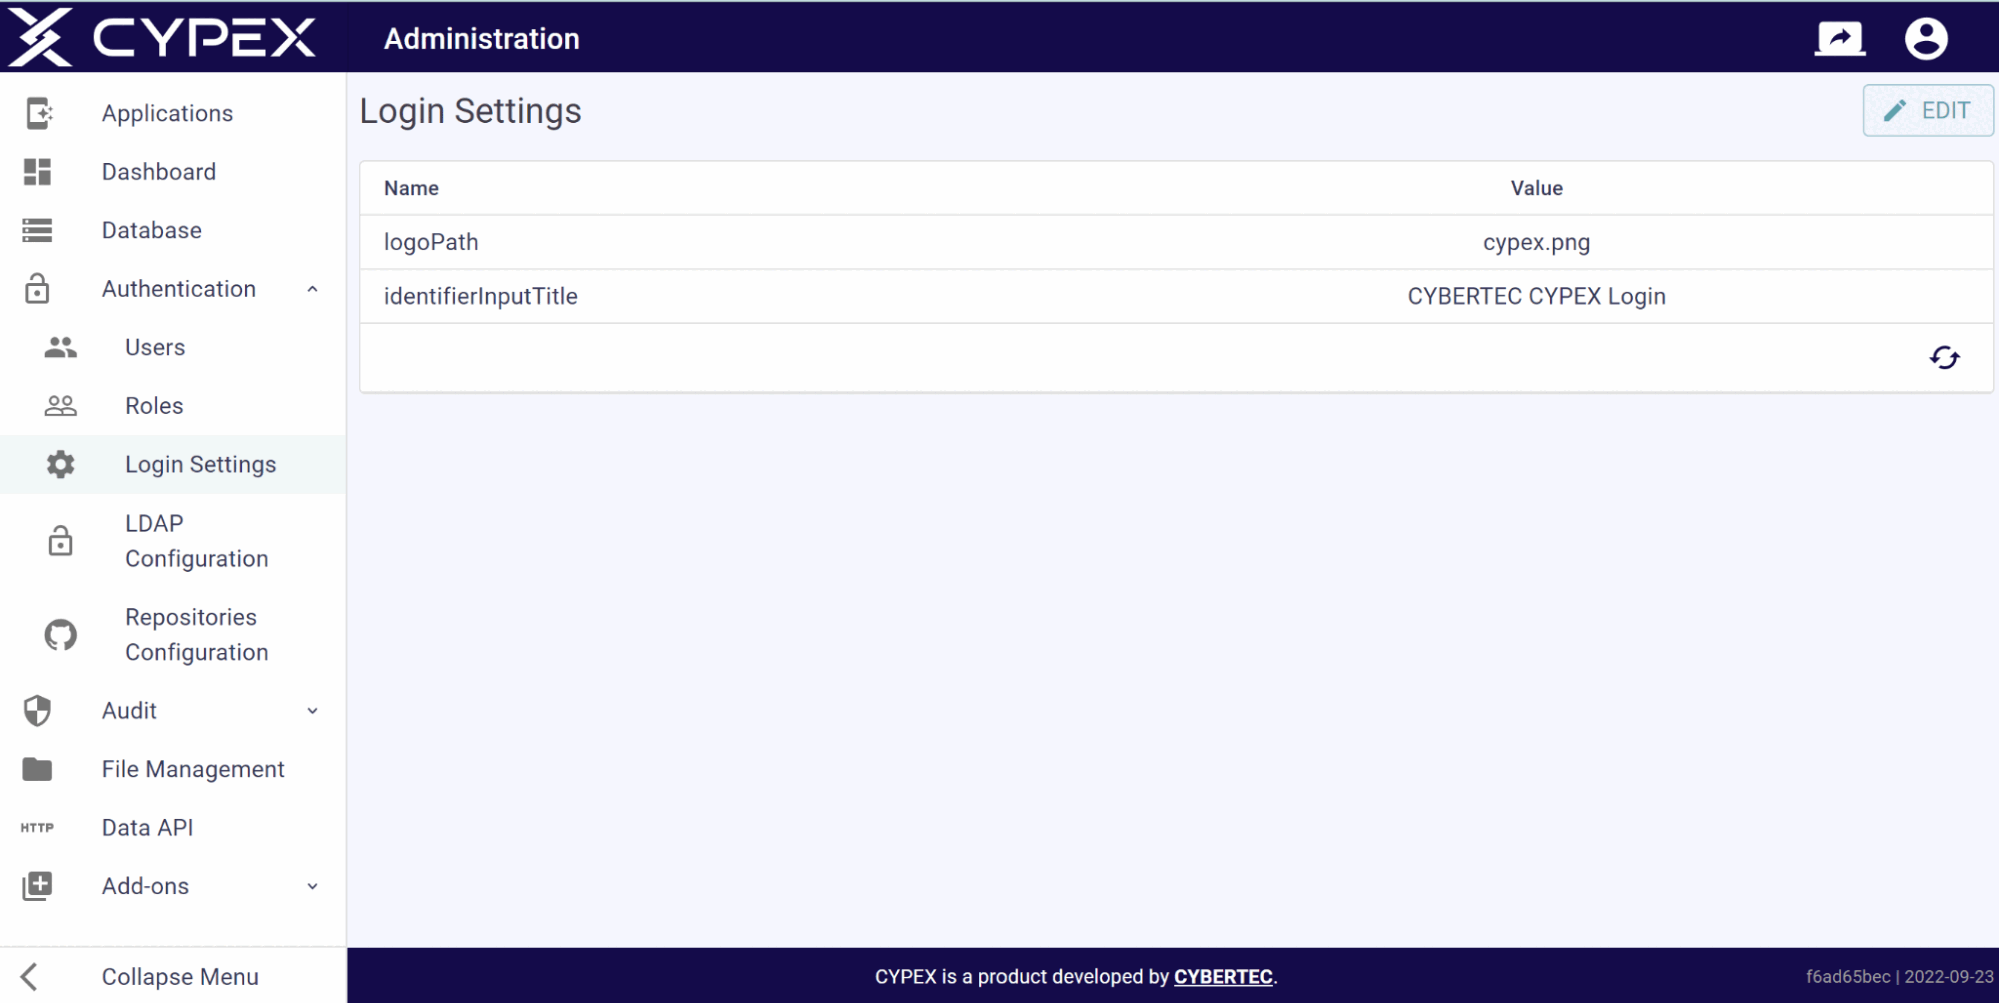
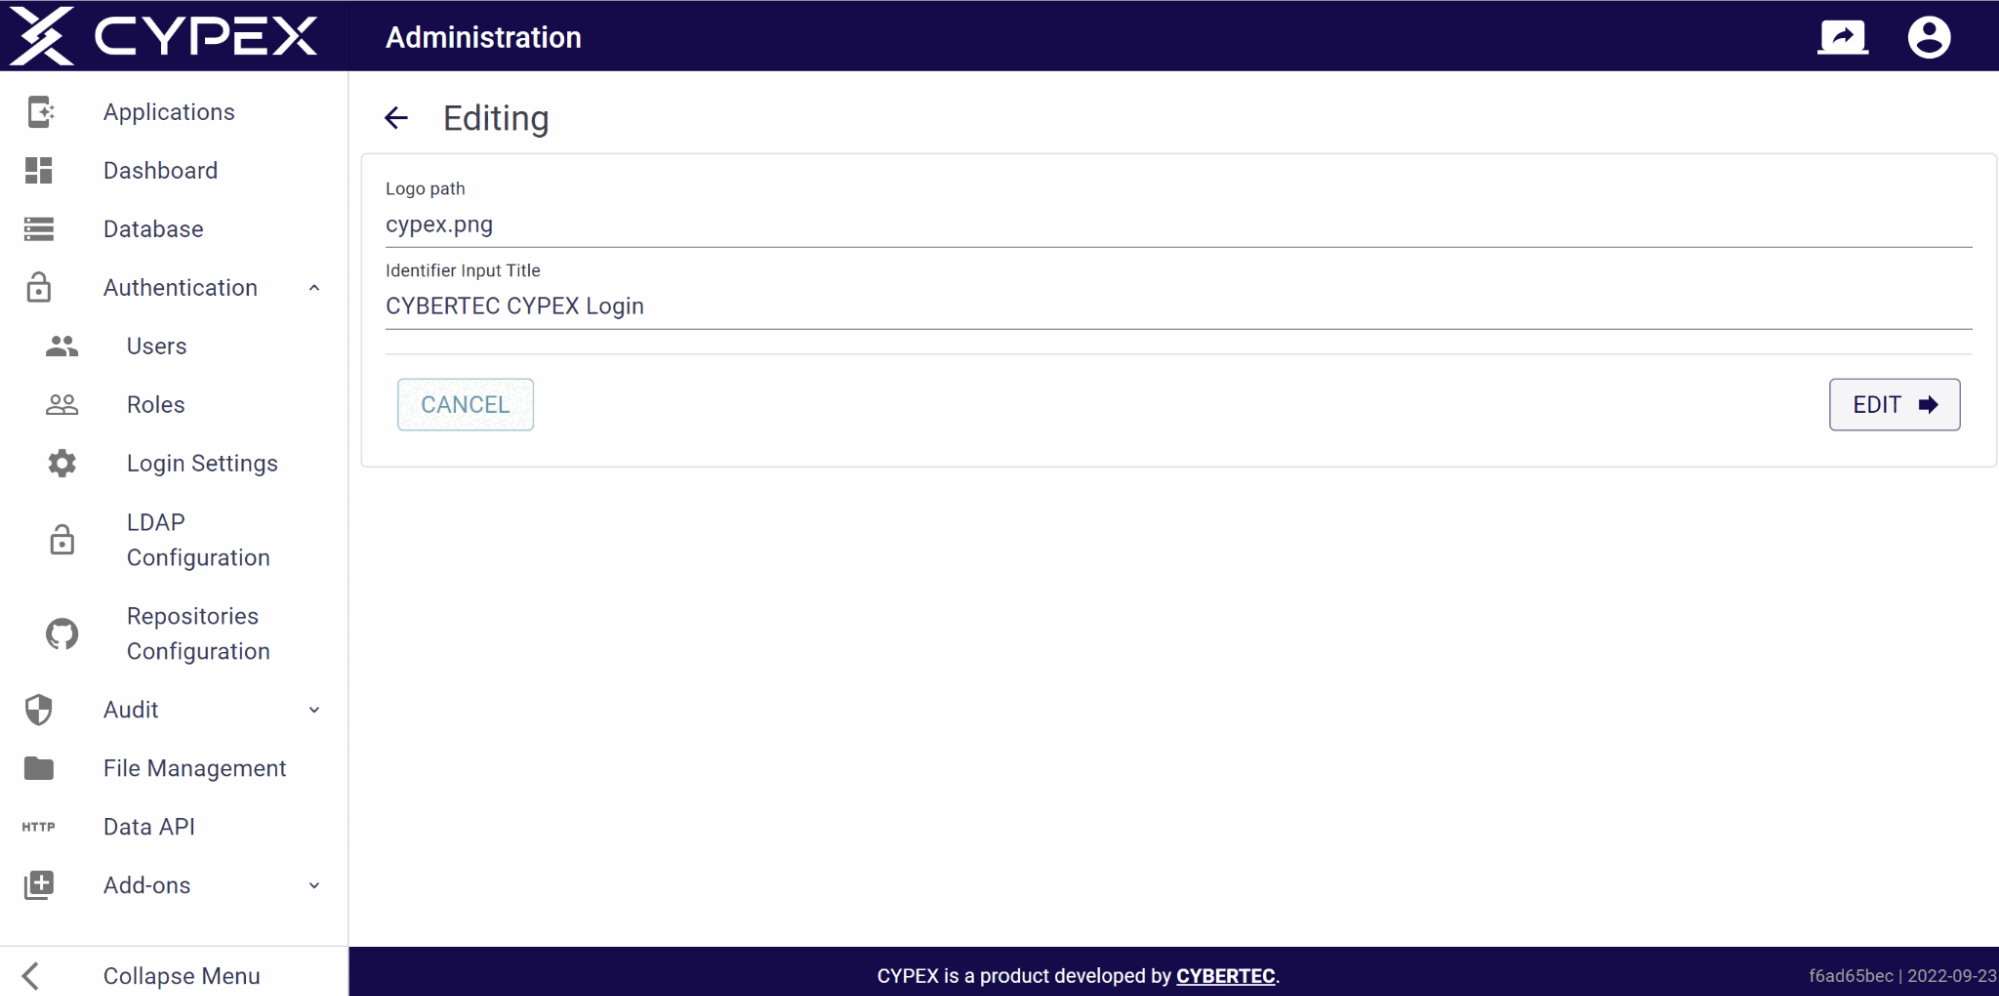
In Login Settings you define the logo shown during login:
You can upload any suitable logo and easily change the name of the page to adjust CYPEX to your company CI’s needs. Note that the logo you are pointing to has to be in the public folder of your webserver:
These settings directly translate to the way the start page looks. The following screenshot shows what the default layout is like in the standard configuration shipped to customers:
A high level of protection must be assured of your data. We put great emphasis on security, and ensure that data is protected at all times. As part of that, our user management is based on a solid, well-tested user concept.
Understanding the CYPEX user concept
The first question we have to answer when talking about security is: “What is a user?”. Having a clear picture in mind is important to understand the big picture.
v2.0.0 replaces the single long-lived JWT with an access token / refresh
token pair. This page explains the model, the settings that govern it, and
the two configuration mistakes that break a deployment.
Why it matters
Under the old model a token was minted at login and stayed valid for its whole
lifetime. Deactivating a user or changing their role did nothing until that
token expired — potentially days later.