This page describes the v2.0.0 role model and how roles, JWTs, and RLS
policies work together to enforce multi-tenant isolation.
Role summary
All three roles are created as NOLOGIN group roles. Humans (and the
authenticator pool) log in as other roles that are granted
membership in these groups — they never LOGIN as cypex_admin,
cypex_user, or organization_admin themselves.
The v2.0.0 upgrade installs a default password policy by inserting a
row into cypex.t_config with key password_policy. This page documents
the policy, how to verify it on your instance, and how to override it.
This is very permissive by design. The rationale is that shipping a
working default is preferable to locking existing users out at upgrade
time. Once the upgrade is complete, administrators should review the
policy and tighten it to match their security requirements.
The v2.0.0 migrations are forward-only. There is no automatic rollback
script. This page documents what you can and cannot undo if you need to
revert the upgrade.
What you can roll back
Disable RLS on tenant-scoped tables
For every table that had RLS enabled by the v2.0.0 upgrade:
A workflow in CYPEX is a state machine stored with your data model:
named states, allowed transitions, and which roles may fire each
transition. Once you enable enforcement, it is applied in the database —
a CHECK constraint on the state column plus a trigger that rejects any
transition you did not model, and checks the caller’s role against the
transition’s permissions. The UI only offers what the database would
accept anyway.
Looking for the conceptual reference (“what is an Organization?”)?
See Organizations.
After the v2.0.0 upgrade, every CYPEX deployment starts with a single
Default Organization that holds all existing data. This page is the
entry point for setting up additional organizations and assigning existing
clients / schemas to them.
When to read this
You want to split a single-tenant deployment into multiple organizations
(one per client, per business unit, or per environment).
You need to backfill the organization_id column on existing
application-schema tables.
You are operating the cutover from “everything on Default Organization”
to “each row tagged with the right organization.”
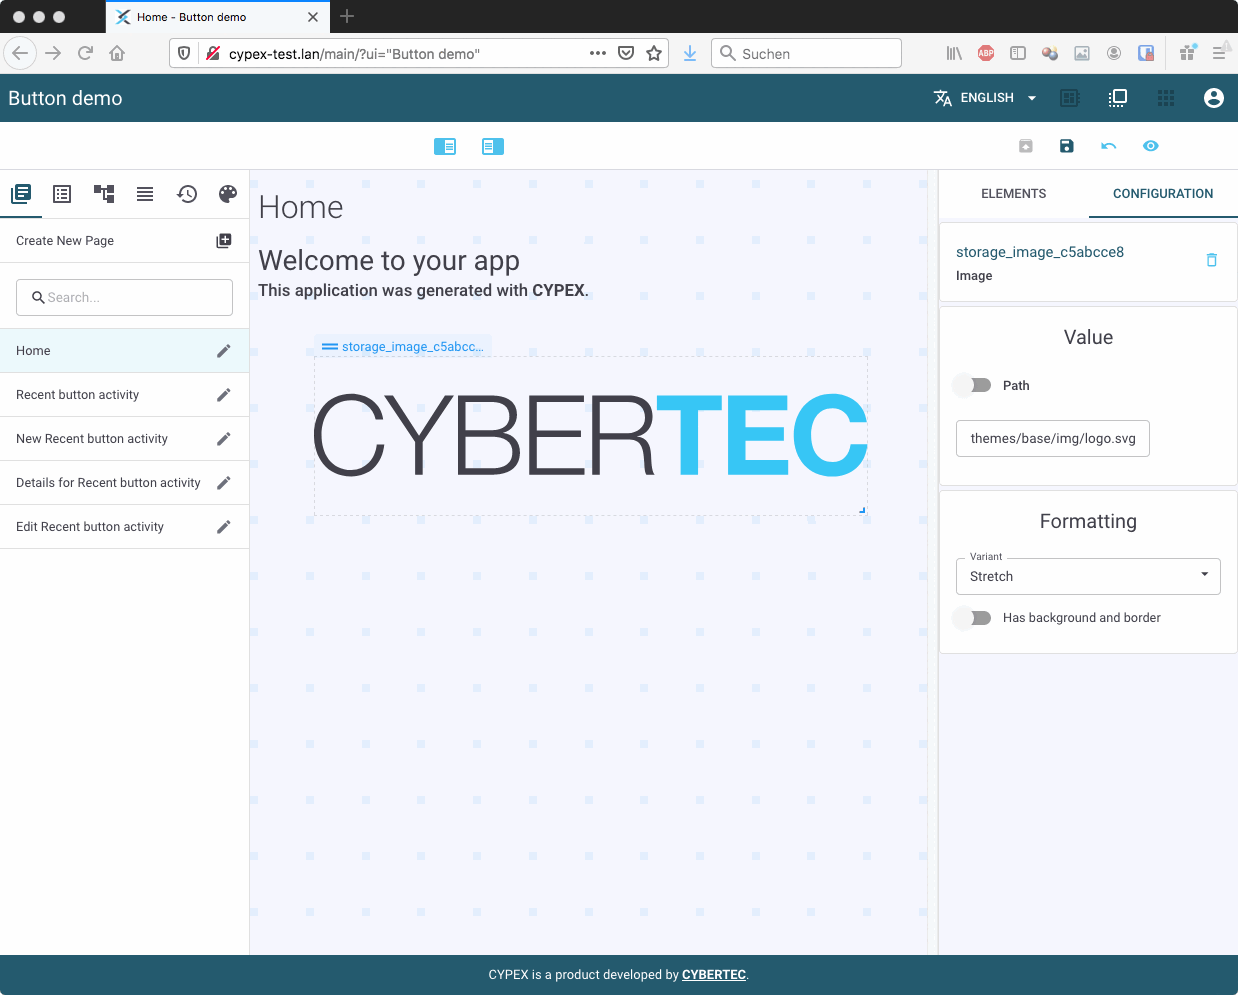
CYPEX supports the integration of external images. Add an image element to your desired page and click on the element for configuration: You may add the desired link to the image, resize the element and define whether the picture can be resized or stretched.
The CYPEX PDF Reporting Feature enables users to generate high-quality PDF reports directly from CYPEX applications. Users can choose between interactive reports, which mirror the live application view, and static reports, which use LaTeX for structured and large-scale data presentation. Reports can be saved locally or stored in the database for easy access through the Admin Panel.
How to Create a New Report
To generate a PDF report, create a new report page in CYPEX as follows:
CYPEX works directly on PostGIS: spatial columns keep their PostgreSQL
geometry or geography type, and applications read them through
generated queries and map elements. Generated default queries pass the raw
geometry through unchanged, which a browser cannot render — convert it
yourself with ST_AsGeoJSON in a custom query. Two Application Designer
elements consume the result: Leaflet Map GeoJSON displays it read-only,
and Leaflet Map GeoJSON Input adds drawing and editing of markers,
lines, rectangles, polygons, and text annotations. Both render over one
configurable base tile layer (OpenStreetMap by default).
CYPEX may store data that requires a durable change trail. History
tracking (table auditing) records every INSERT, UPDATE, DELETE, and
TRUNCATE on a selected entity in cypex.t_history. Each entry holds before
and after JSON images, a timestamp, the PostgreSQL role that made the
change, and — when the change came through CYPEX — the CYPEX user id.
Changes made directly against the table are captured too, so no separate
application-level logging layer is required for those row events.
CYPEX is in charge of handling everything from rapid prototyping to full application development.
When building a full application, it can become necessary to schedule jobs. CYPEX offers the means to make that happen using pg_timetable, a job scheduler developed by CYBERTEC. It’s able to handle all kinds of job execution tasks.
Let’s take a look at a sample use case:
When a contract is entered, somebody else should be notified
If there is no response, try again in two weeks
The way to integrate job scheduling with CYPEX is by using standard SQL tables. In pg_timetable, every job is stored in tables. By writing database-side code, you have a transactional way of scheduling jobs.